My design process began with the creation of the two creatures. The first was based off a flower, while the second was a snow monster. The flower began from the tower idea of the Space Needle, being a long pole section supporting a round top. The inspiration for the snow monster came from the firms other buildings, which are all cubic and linear, which made me think of icicles, from this idea I evolved a creature around that landscape idea.
Designing the habitats for the creatures started out with me thinking where they would live. For the flower, this was easy. I would live in a flower pot, in a forest. The pot would be a multi story dwelling suspended in a tree. The main feature of it was that the flower creature could climb up to the roof, which is made of soil, and sit there in the sun.
For the snow creature, I designed it's environment around a cave. The cave is inside a large mountain, which in turn is in a large field of snow, with dangerous cliffs nearby. The whole landscape for this one was made around the stark, white patterns found on many of John Graham Jr's buildings.
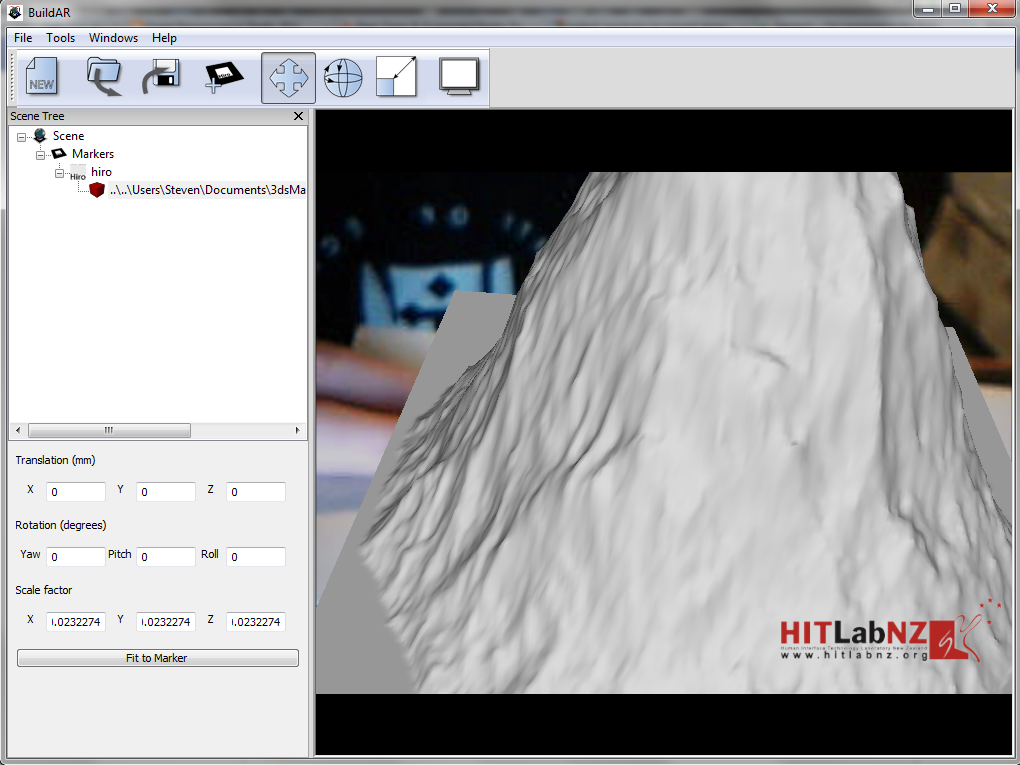
At this stage of the design process, I was thinking the flower monster would be the one I took through and designed the landscape for, because it was the more abstract of the two, but after thinking about the final outputs, I found the idea for the snow environment was looking better with both the tools and skills I had. The main factor in this was that I started developing both the environments with the Crysis sandbox, but realised I wouldn't be able to take this work and put it into buildAR. Redoing the work in 3dsMax, the mountain environment is much easier than a forest, and I now think it will also look better as a design than just a bunch of trees. The mountain will stand out more, where as anything in the forest would just blend in.
In designing the inside environment for the mountain dwelling, the ideas I had from the forest building, taken from the Seattle Space Needle still carried through into this one. Particularly the idea of a layered structure. The interior is made up of shelves of ice protruding from the walls.
Inspirational AR:
The thing about this video that really gripped me was that it could have such a practical application in the real world. It's the sort of thing that I can see actually being part of everyday life in the future. Little overlays on what we see that help us with everyday tasks. Plus I play a lot of pool, and this sort of thing would be amazingly fun!
Six AR markers:
Mountain: This marker will represent a distant view of the landscape, encompassing the mountain and the area around it. It shows off the model from a distance.
Animation: This marker will have an animated model of the landscape. I plan to model some floating clouds in the sky, as well as a snowstorm to blow across in front of and around it.
Entrance: This marker shows off the entrance to the creatures lair. It is a close up of the tunnel leading into the cave. I plan on trying to light the scene in a way that you can see inside the mountain by rotating the model to look deeper into the tunnel.
Animation 2: In this animation, the top of the mountain will be removed, allowing the person holding the cube to look properly inside it and inspect the lair. In essence, it is a top down section cut.
Side section: This model will be a side cut section of the mountain, showing off the layered structure of the creatures lair. This model will demonstrate all of the finer details of the habitat, allowing the person holding the cube to move it around and look at the area.
I had intended for this last section to turn out to be something different, but due to constraints on my AR box, it had to be changed. This marker represents a cut away section of the mountain, allowing you to see more closely into the chamber, as well as looking at the columns and stairs.
Cube construction ideas:
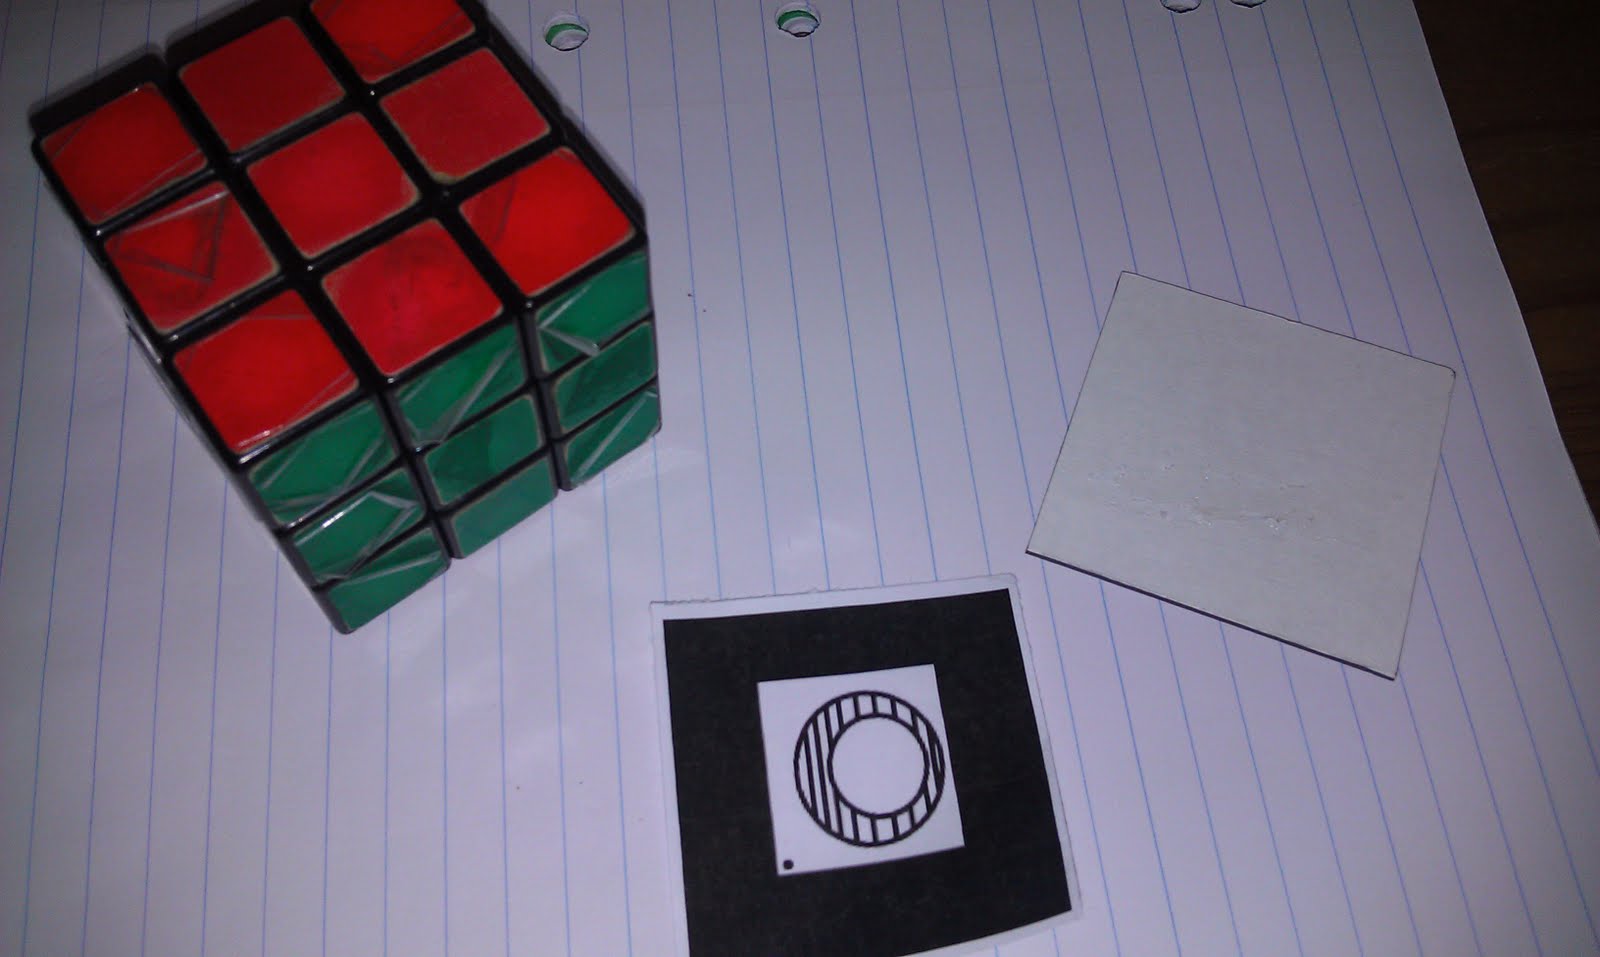
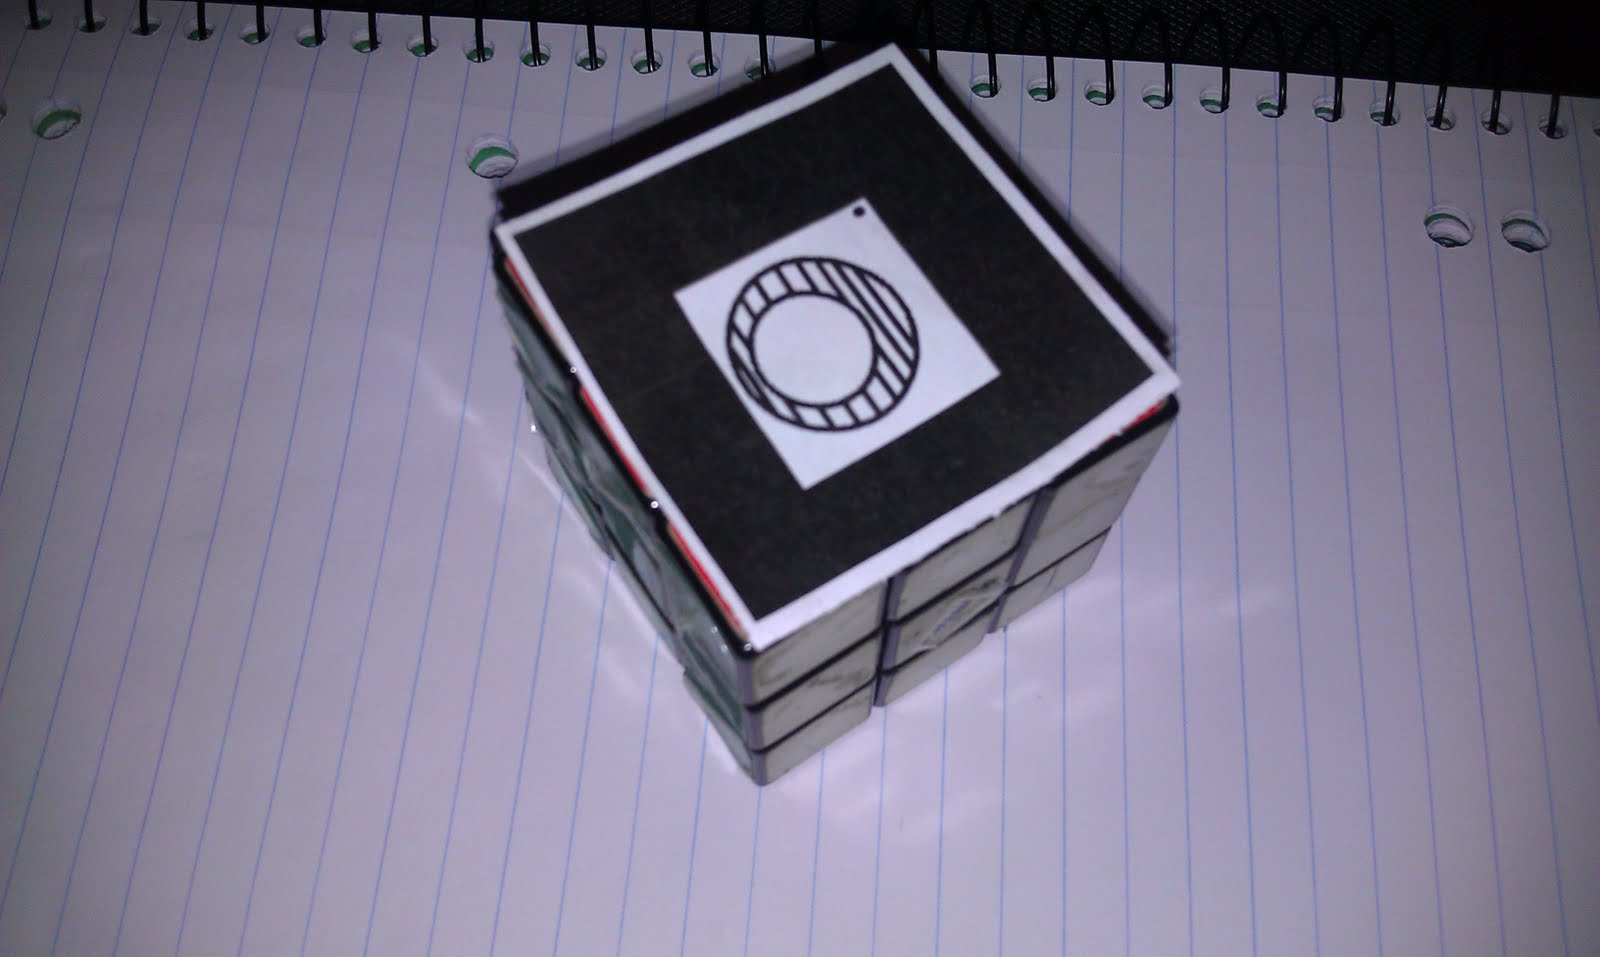
When my initial idea for my box failed to work, I decided to use a rubicks cube as the base for a box. A little double sided tape, and you have an AR box :)
The only problem with doing it this way is that the double sided tape can come out a little from the edges of the paper, and if you get it on your fingers and then use the box for a minute or two, the white sections can get a little dirty. Fingers crossed this wont be a problem.